


I am a perfectionist. It's just how I roll. Now when I proposed making bunting and the materials I would use, my mother quickly reminded me about ten times that it doesn't need to be perfect.
She recalled making our costumes for our Reformation plays in grade school (what? Your school didn't perform REFORMATION plays!) Yes. We literally performed Reformation plays. It was a private Christian School with 80 kids in it. What can I say. Every year it was a different one. So every year we needed new costumes. I will never forget the year my sister was Queen Elizabeth. My mother toiled over that hideous green curtain fabric for days and weeks.In the end it was a hideous green dress that was done soo beautifully Queen Elizabeth could have worn it herself (if she was the size of an 8th grader.) My mother brought it into school and another mom reminded her- 'It's a play... There are bright lights and no one will even see the back.' That's when my mom learned the value of sewing for decoration or play. Don't fuss. Don't spend hours stitching perfect seams on a play costume. Then they will be scared to wear it. JUST LET GO.
Making bunting (for decoration) is about just that. My triangles are not perfect. My cut lines from the pinking shears are not even. Even my well laid plan to have all my farm animals right side up fell through. My stitches are not straight, but I made four strings of bunting from soup to nuts in about one hour with no pins. And they look great because they are about effect- NOT becoming an heirloom or their re-sale value. No muss, no fuss.
This isn't going to be formal instructions, but should be enough info to get a person with some experience sewing through. If you run into problems, feel free to let me know.
So first take a piece of 8 1/2x11" paper and fold it in half lengthwise. Cut diagonally from one corner to the other. Unfold.
Vuala- Pattern!
Now fold up your fabrics into a nice long rectangle that is tall enough for your pattern and wide enough for a few triangles.
If your fabric is too thick you may have to guage how many times you fold it so your scissors can still cut through.
I didn't even draw the pattern on the fabric. I just started cutting along the edge of the paper.
Just be careful not to cut your paper since it will dull the shears.
Only cut the diagonals.
You will use regular fabric scissors for the bottom of the triangle when you finish cutting them out so you have a straight edge to sew to.
When you finish cutting both diagonals flip your triangle on the fabric so it matches the diagonal you just cut. Now you only have to cut one side!
Then flip and cut again until you get to the end of your rectangle.
Do this with as many colors of fabric that you want.
To make things easy for myself I then put them in a stack in the order I wanted to sew them. I tried to not make an exact repetitive pattern, but also tried to not have the same fabric twice.
I then placed my double bias tape along the bottom edge of the triangle on top of my fabric (which should be facing up).Then start sewing. Remember to lock the beginning and the end so your stitches don't unravel. When you get close to the end of the first triangle slide your next triangle into place under the bias tape and just keep going . Leave room on both ends to tie off the bunting. You don't have to use bias tape. You could use ribbon or apron cord or anything you have that won't fray.

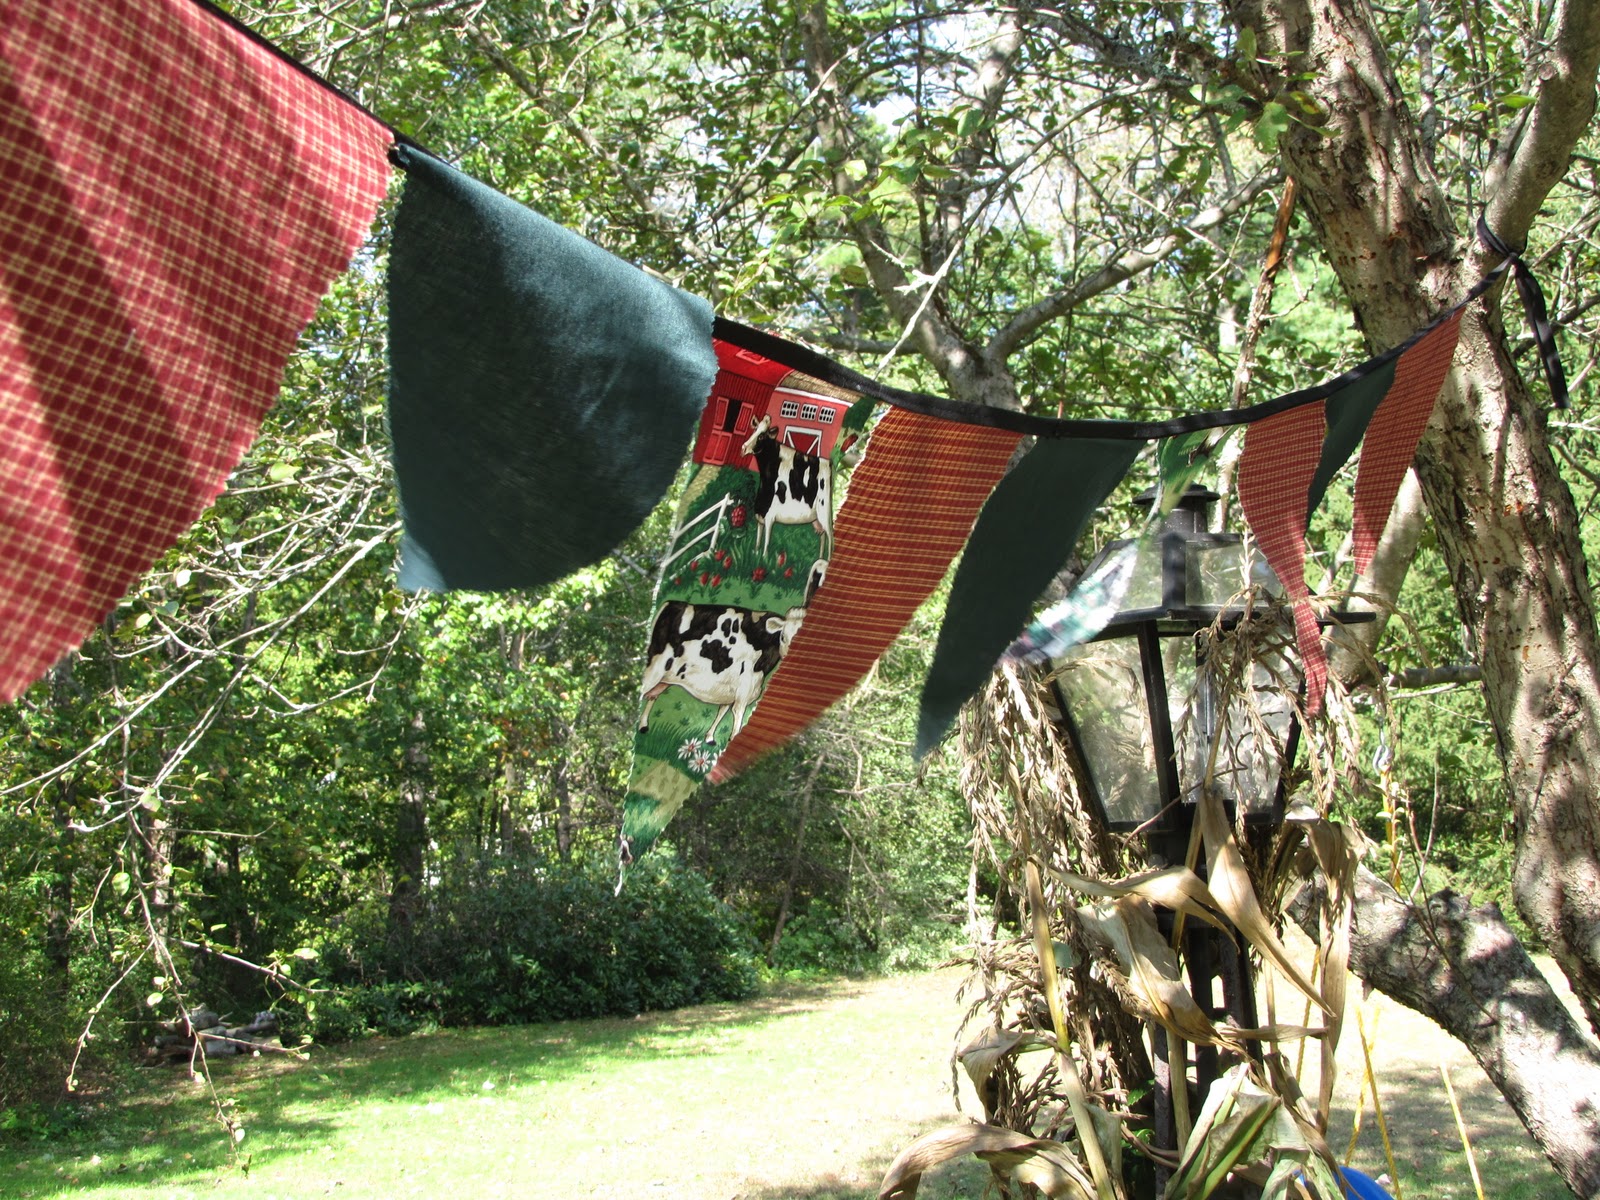


That does it! Now hang up your bunting and enjoy your party decorations that were hopefully next to nothing to make!


No comments:
Post a Comment