Wednesday, February 15, 2012

Lasting Lovies

I made my niece this Molly Monkey doll back in 2010!
Here she is still loving on her two years later.

I made my nephew a Super Kid cape and Super Monkey back in 2010. Here he is enjoying them both then and now.
 
 2010


2012


Have you had the pleasure of watching your creations loved over the years?


Happy Storm Trooper!


Here is the birthday boy!

 He is being Hans Solo pretending to be a Storm Trooper. He had to pose with a gun for the full effect. (Good thing he was able to whip one up out of Lego blocks in no time at all.)
He was very happy with the new characters as well.

 I even added a Sand Person at the last minute. He requested some additional bad guy robots as well as "twentyfourty" more storm troopers and fifteen more Jawaws.
He was very pleased with the eye choice for the Jawaw and stated that they do indeed have gold eyes. I also made weapons for them and he was quite satisfied with their accuracy to the movie. So overall we had a happy camper!

I love that he understands that these are custom made for him! Can you imagine opening a store bought gift and requesting revised weaponry, additional characters, etc. to your own desired specifications!

This is what makes handmade gifts so special! They are custom made just for you!

Have you made a handmade creation for someone recently? How did you customize it to meet their particular interests, desires, etc.

Braided Infinity


For Christmas I also wanted to make a "younger" looking scarf for my two sister-in-laws.
I came across a braided scarf tutorial on pinterest and got to work. Unfortunately the tutorial had me literally pulling my hair out, so I thought I would post my own tutorial that addresses some of the issues and allows for a more polished result.

Again, I wanted to make two scarves from the same fabric so I simply cut it in half width wise. This left me with four 11"x 36" strips.
The pink scarf above was made from some leftover spandexy, velvety fabric I had lying around. I fudged around an just made a width and length I felt comfortable with. You can also use two medium sized t-shirts.
The green scarf below was made from standard cotton fabric from JoAnns.

Braided Infinity Scarf Tutorial
Take two pieces of fabric and sew them (right sides together) to make a tube. I used 1/4" seams. Leave about a two inches untouched on either end.

Do this again using the other two pieces of fabric.

Turn both tubes right side out.

Take a random strip of fabric and tie the ends of the two tubes together. Now you will have two circles.

You are now ready for your knot.
The knot was VERY confusing to figure out. I actually got my husband's help and practiced on two pieces of string.
Hopefully, I can describe it clearly.


Knotting the Scarf


Put the knotted end of circle A through the unknotted end of circle B
Then take the knotted end of circle A and pull it up on top of the unknotted end of circle A.
Now take the knotted end of circle B and put that through the center of everything (where the arrow is)
Now pull each knotted end.

It should end up looking like this:


Closing the Scarf 
 I left side openings on each tube like below:
 please ignore the tulle inside the tubes, I tried it for extra volume, but it didn't look good.

 I then sewed the ends of each tube together. Matching right sides together.

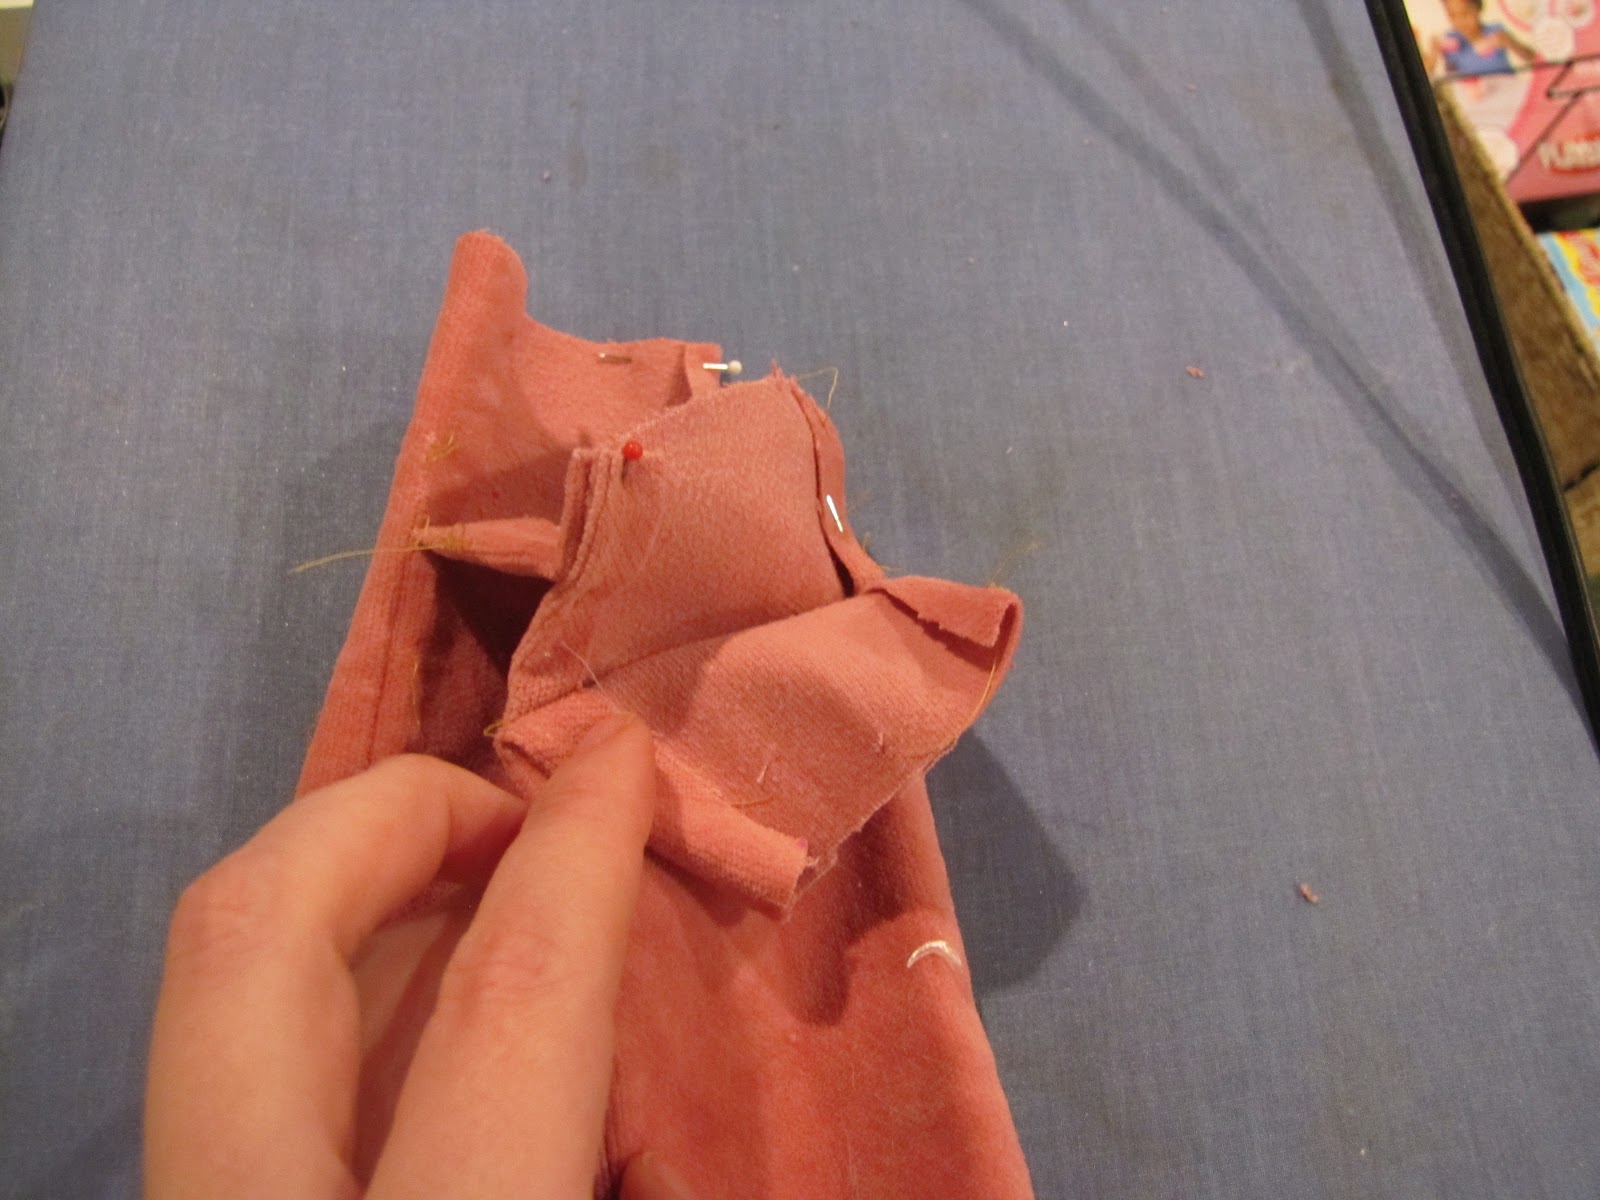
It's fairly awkward to pin together and sew, but ends up with the best result.

Then you have a finished seam across the scarf. All you have left is to pin up the sides and hand stitch them.

Good Luck!!
Forever and Ever Scarf


This is my beautiful mother sporting the new Infinity scarf I made her for Christmas.

She always forgets what they are called so she calls it her "forever and ever scarf."
This photo also includes the doll quilt I made for my niece in the background.

I used this tutorial. The fabric I used was stardard cotton fabric found at JoAnns. I made mine slightly narrower than the tutorial so I could make two scarves out of one piece of fabric. I simply cut the fabric in half width wise to make my two matching scarves. I gave one to each of my Moms. (my mom and mother-in-law)


My mom is a teacher so she loves light weight colorful/ statement making accessories to jazz up practical work attire. She is anxious to make another for herself!

Activity Board!

As I mentioned in a previous post, we created an activity board for Lucas for Christmas!
After watching him play we made a few changes. We added a door knocker, a drain spout, and painted it with chalkboard paint!
His favorite part is the springs that stick out at the top. We simply attached them with screws.

He also loves the top door that opens to a mirror. He always greets his reflection with an enthusiastic "HI!!"
The drain was a great addition. He loves anything that functions like a steering wheel.
What is included:
2 doors
One with crinkly shiny wrapping paper behind it (leftover from Christmas)
The other with a mirror (from one of his old baby toys)
3 door locks
1 hook lock
1 latch lock
1 chain lock
1 light switch
1 door knocker
4 caster wheels to SPIN, SPIN, SPIN!
4 Springs to BOING!
One pulley to pull a string through

The board is made of two sheets a plywood attached together. We screwed them together so we could take them apart easily if we ever wanted to add anything else.
The two boards allowed us to open the doors and not have wall behind.
We made the doors by drilling small circular holes in each corner of a drawn square.
Then we could place a saw into the holes as starting points for each cut without losing our square to make the door itself.
As finishing touches we used a router along all the edges, primed with grey primer, and used chalkboard spraypaint.

Our son is involved with Early Intervention because of his heart condition. The supervisor was highly impressed and said this was excellent for developing gross and fine motor skills.
So we got a very big seal of approval!
Lucas absolutely LOVES it!

Tuesday, January 17, 2012

Happy Birthday Storm Trooper!

My nephew's birthday follows shortly after Christmas so it's always fun to be able to carry the theme or creations from Christmas over and have a bit more time devoted to just to him.
In 2010, I made his Super Hero Cape to match the Super Monkey I made him for Christmas.

This year, I thought I would make him a Storm Trooper Helmet. It is made out of Milk Bottles! I used this tutorial. However I used white milk jugs. Unfortunately  they have an extremely different shape than the clear jugs used in the tutorial. So I had quite a bit of trouble trying to keep it truly Storm Trooper. I think it came out well despite the different shape and there was no spray paint involved. I just used acrylic paints including white that I used to cover up the hot glue from the hot glue gun. The nice part about this was that I could just wash off the bottles and start over if I made a mistake. I used black electric tape for the black band at the top and used vitamin bottle caps for the caps at the "ears." Hopefully he likes it! We are still waiting for an official fitting to put in the eye holes.
Also, at Christmas my nephew loved his Star Wars Finger Puppets, but as you would imagine as an almost 5 year old he had a few recommendations. He requested I add guns and some more "bad guys" so he could REALLY play with them.
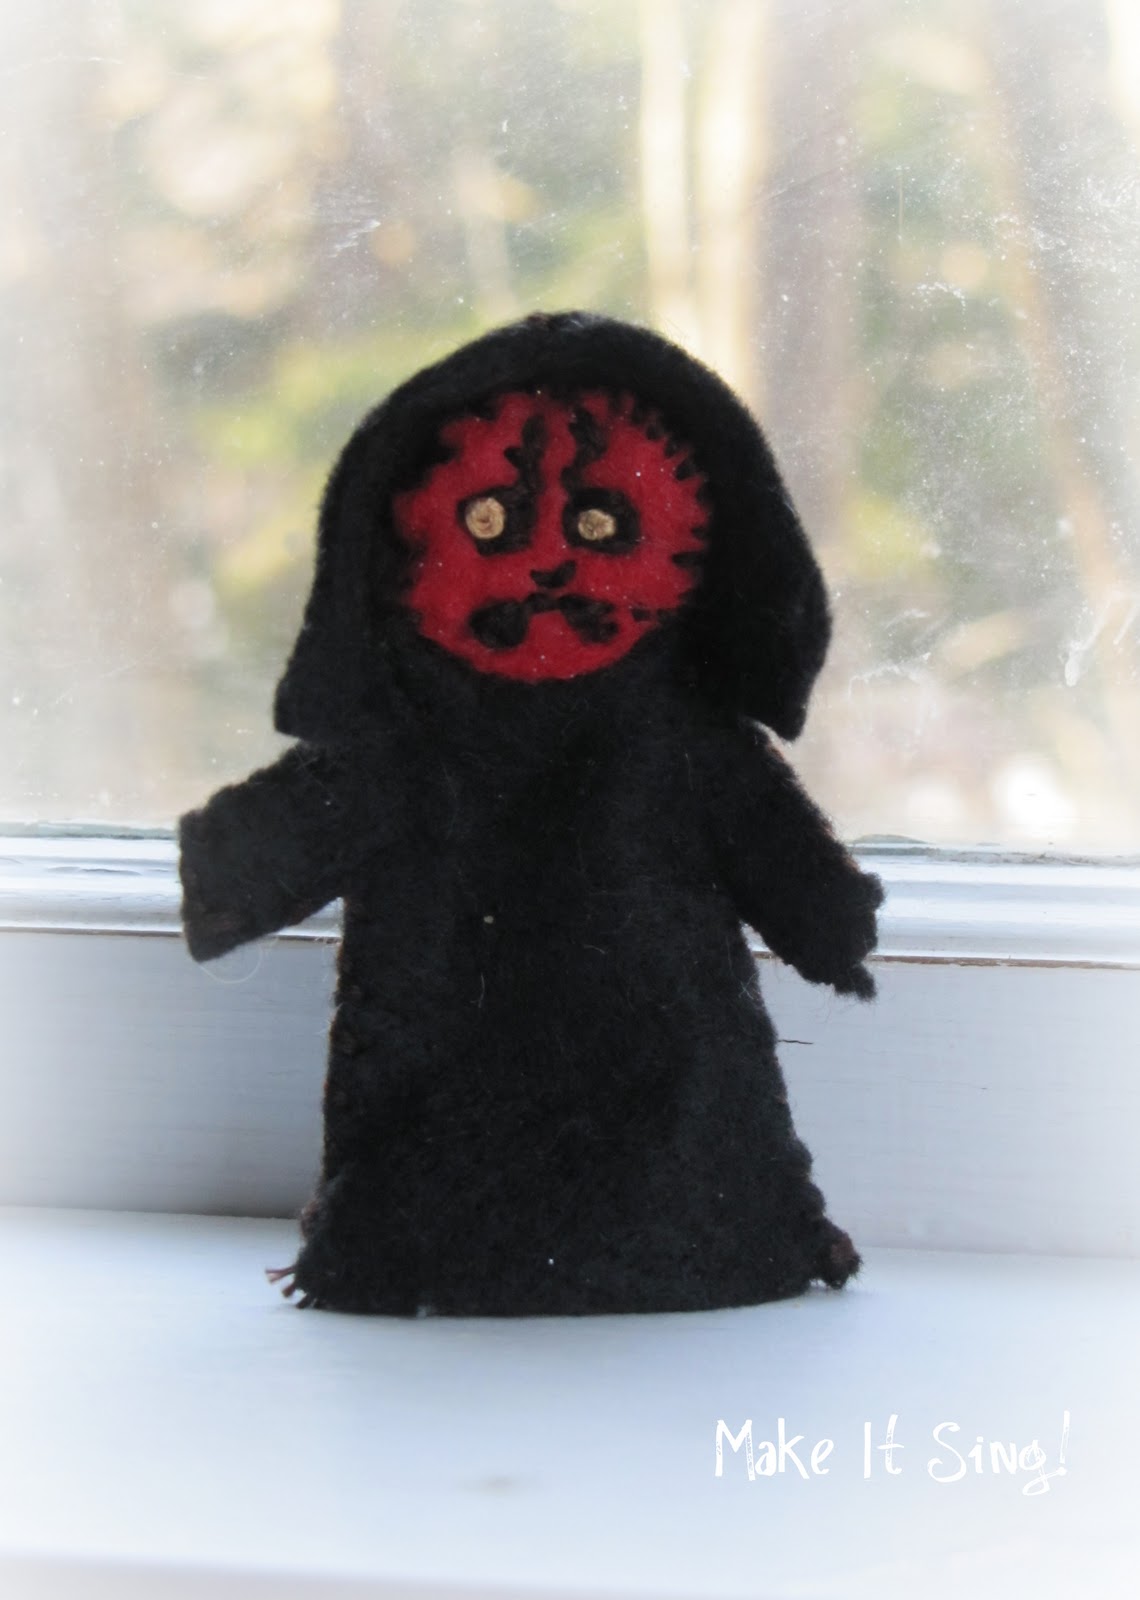
So with some simple folded pipe cleaners and some more floss everyone was equipt with guns in a matter of minutes, except for R2-D2 and C-3PO. He said Leah should have a gun, because Luke let her borrow his. As for the bad guys he requested a Jawa and Darth Maul. So here they are in all their glory.
My mom is bringing some red pipe cleaners on Thursday so I can make his double light saber.

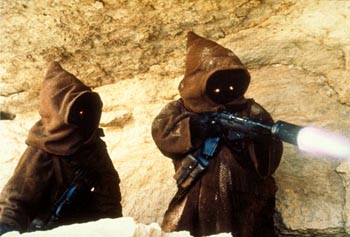
She is also bringing black pipe cleaners so I can make the Jawa's gun. My nephew was very specific about the gun since it has a very large barrel. He even knew what it was called. I did a google image search and sure enough, they do! I didn't even remeber they HAD guns! I really wanted gold eyes so I searched through my jewelry making supplies and found the eyes above. I know they are bigger, but I like that they make him feel smaller. Hopefully my artistic license is acceptable to my nephew.
Unfortunately we all got sick so we had to miss his big day. We are hoping to get together soon to give him his new Star Wars friends. Don't forget if you want patterns for the rest of the gang to shoot me an e-mail at mcgowan.rebekah@gmail.com

What projects are you working on over the winter months?

Thursday, January 12, 2012

Free Star Wars Finger Puppet Pattern

The Star Wars Finger Puppet Patterns are now available through PDF!
They print out on standard letter size paper. I have also included the basic instructions in the packet.
Just e-mail me at mcgowan.rebekah@gmail.com and I will reply with the PDF that includes basic instructions and the patterns for all the characters shown above.
If you enjoy the pattern and want to say a thank you, donations are accepted. There is a link in the sidebar to donate through PayPal.

The Materials List is:
Assorted Felt
Assorted Embroidery Floss
Embroidery needle
Pins
Pipe Cleaners


Please note: The Patterns are intended for Personal use only. They can not be produced for sale without my express permission and the patterns can not be sold privately or publicly.
Related Posts with Thumbnails