Tuesday, September 27, 2011

Sewing for BOYS!

I constantly see the debates online between working moms and stay at home moms. I just chuckle to myself and sigh. As a work from home full time employee and mom to a child with special needs, sometimes I feel like throwing in the towel. However, as my little man found his rhythm and has begun to explore his world on all fours or shimmying around furniture, I seem to have found my rhythm as well. As I did, I found our budget is still tighter than ever and the stash of baby clothes from hand me downs and gifts has finally run out. My mother has been sewing nonstop for my little niece making her gorgeous little dresses and I felt frustrated that there aren't any fun patterns for BOYS! Searching through Pinterest one day, I found a few ideas and patterns and quickly came up with a marvelous plan.

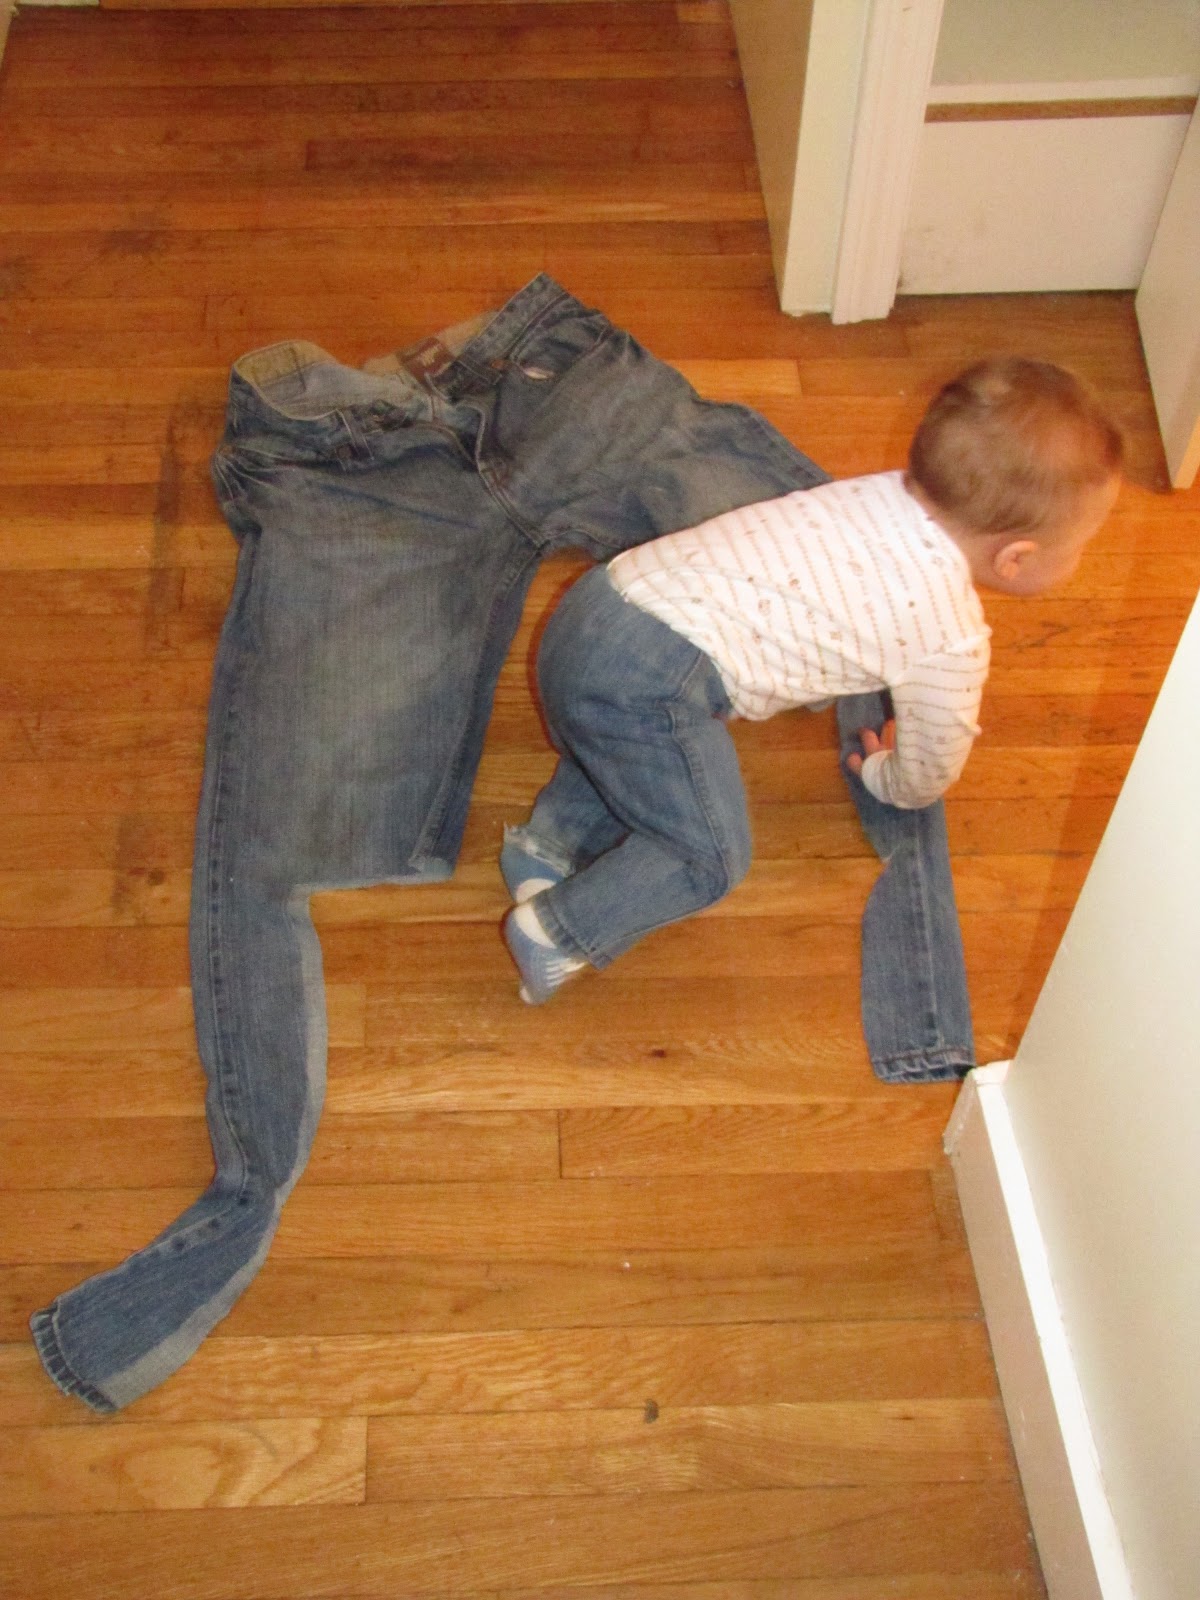
Use DADDY'S old pants to make new pants for my little man.
We were desperately due for a laundry day so I thought it was a key opportunity to hunt through my husband's drawers. Whatever was left during this laundry famine was sure to not fit or be worn out. I pulled out 3 gems. 1 pair of jeans that he felt fit him awkwardly, 1 pair of Dickies that were uncomfortable, and 1 pair of wool dress pants that were used for a Halloween costume.

I'm sure this isn't an original idea and there are many blog posts on the web for this basic pattern and concept. However, I couldn't find exactly this simple process all in one place. So here it is.  I keep saying these pants take 30 minutes. I'm bet it's longer than that, but I made 3 in one evening after the little guy was in bed and still went to bed at a decent hour. They are literally one of the easiest things I have ever made. And since they are made out of 'adult' fabric instead of thin cottons and jersey knits, I can let him be a BOY and play in the dirt and crawl across pavement, etc. Not to mention the constant compliments I get on his great pants. No one believes they are hand made.

The key to the simplicity of these pants is that I use the hem line and inseam of the Adult jeans. This makes them look professional rather than 'home sewn' and greatly simplifies the process. So you only get one pair of toddler pants per 1 pair of adult pants. But if you were going to throw them out anyway or they were just taking up valuable storage space in your dresser, it's definitely worth it.


My first attempt ended up a little tighter than I thought, but it was an easy tweak for the next pair. They are basically a perfect fit so there isn't much room to grow. I was amazed to see how easily he can move in them. Since I did run into this problem, please keep in mind if you are using a jersey knit as a template to make pants in a stiffer fabric allow extra room to account for the stretch you have lost.

Let's get started.

What you will need:
Pair of pants that are in decent shape from the knee down
matching thread (I use a mustardy yellow for jeans)
fabric scissors
3/4" wide elastic
writing utensil- pen/ marker whatever is around
clothes iron
pins/safety pins

Step 1: Making your pattern: select your 'material' and a pair of pants that fits your child well to use as a template.
Take the template pants and fold them in half. Use the actual edge of the fabric for your actual pattern edge for the hem and side seam.
Add 5/8" to the interior edges to allow for a seam allowance. Leave about 2 1/2" extra at the top.
Step 2: Cutting: Now pin your pattern on the pants. I used 1 pattern for both pant legs, but if you choose to do it this way don't leave your brain behind. Because you will have to flip the pant leg and your pattern to do the opposite side. (I only say this as often by the time I have a minute to sew my brain has gone to bed hours ago.)
Step 3:  Sewing: Start by unfolding the two pieces and place them face to face. Then sew along the two sides as shown below. This will be the front seam and the back seam covering the bum.

Next fold your fabric so the fresh seams are in the center. This makes the shape or you pant. Clip the seam allowance along any curves so the fabric can lay flat and iron. Now go back in and sew the inner leg lines. Start at one cuff moving up to the crotch and then turn and go back down ending at the other cuff. Clip the seam allowance along any curves so the fabric can lay as flat as possible and iron. Feel free to trim down you seam allowances.
At this point I had a fitting. I turned the pants right side out and folded the top down to where it was similar to the template pair. I then ironed it so there was a nice crease and tried them on the kiddo. I adjusted as necessary and carefully placed a safety pin to mark the spot and took them off.


 To sew the waistband, You are going to have 2 folds that fold on the inside of the pant and end up being wide enough to fit your 3/4" elastic through. Make your folds and cut off any excess. I did my first fold as 5/8" and sewed it in place. Then I folded the second fold to cradle the 3/4" elastic nicely. I sewed this down right along the outside of the fold. Make sure to NOT meet your stitch as you come around the waistband. You need to leave enough room to thread in your elastic. Attach a safety pin to the end of your elastic and feed it through you opening and around the waistband. When it comes out the other end I safety pinned it to the pant so I didn't lose the end and had another fitting. Put the pants on your little guy or girl and pull the elastic until it is not too tight and not too loose. Un-safety pin your other side and safety pin the two ends together at the perfect length. Remove the pants. Then stitch the elastic sides together. Make sure they aren't twisted. Hand stitch up your opening for the elastic and DONE.
My husband had the fabulous idea of taking the Dickies label off of his pants and sewing it onto the bum of the Dickies we made for Lucas. I love how they came out!

Monday, May 23, 2011

Thanks for your patience.


Well our little bun in the oven was diagnosed with a Congenital Heart Defect when I was 20 weeks. He has HLHS (Hypoplastic Left Heart Syndrome). This means he was born with half a heart. He needs 3 open heart surgeries to survive. The first was 4 days after birth. The second was at 6 months of age. So he is now nearly 8 months old and has successfully made it through the first 2 surgeries with few complications. 

We made this short video of his life for CHD awareness week shortly before his second surgery. CHD Awareness Week- Lucas- HLHS 

You are welcome to follow our other blog: Consider it Pure Joy to get updates of how he is doing and what I am up to on the mommy front.


I am excited to finally have things a little more settled in my life. I hope to soon post a few blogs of the DIY projects that we used to make Lucas' amazing nursery. 
 
Including the finished Owl Mobile of course!

Monday, July 26, 2010

Owls

We are starting to work on the nursery for our new addition. Since, I can't paint or sand his "new to us" dresser, etc. I have to keep myself occupied in other ways. So I decided to make a mobile. My mom started making me a quilt a long time ago. She picked out every piece of fabric to represent my favorite things about this world. Everything from the ocean, dragon flies, fish, to polka dots representing sand and other fabrics representing the woods, lakes and streams I love so much. She pulled it out again just around the time I found out I was pregnant. I convinced her to finish it for the baby. I loved the gender neutral colors of greens, blues, teals, purples, yellows, and browns. The colors are so brilliant and graphic that they will be perfect for the little one on the way. So that was the original inspiration for the room. Then I found these.
These amazing little owl prints were so perfect. They are unique, spunky, and gender neutral.
So this inspired me to make my owl mobile.
First I gathered some inspirations. These little guys were a great start, but I felt like they looked a little too much like penguins. So I made my own little pattern:

I grabbed some thinner fleece fabric, some felts, and some chenille for his back and wings.
Here are 3 more of his friends who are in the works.


When I finish them up I'll be sure to make the pattern available.

First time Watercolor project

For my second project at Place of Promise I chose to do a watercolor tutorial. This simple technique takes the "drawing" out of painting making it a much less daunting experience for a first time artist. The girls had trouble letting go as they maticulously taped off all the corners, but in the end they created an image they were truly proud of by just using simple clip art photos, artist tape, watercolor paper, and paints.

I was so impressed with their work. They all did a fantastic job.


Incredibly Easy "Screen Printing"


I have been teaching Art classes once a month at Place of Promise. The Place of Promise is a Christian non-profit organization that has a residential program designed to help those who are hurting, lost, and broken to choose and find Life. In many ways I believe working with these women has been more of a blessing to me than it has been to them. So far we have done 2 classes together that they have found challenging, relaxing, and rewarding.
The first week we used this tutorial.

I was able to work along side the girls. They really couldn't picture what I was doing in my little corner of the table so when I finally pulled off the freezer paper. They absolutely loved my creation for our son who is due in October.

I highly recommend giving this fun little project a whirl. I plan to make a few more robot onesies for our little Lucas due in October.

Tuesday, April 20, 2010

I'm back in Action!

Thanks to Ikea and my talented husband I have an amazing new work space! 
You can see where we started from here.


For the first week. That comfy chair got the most work out. We found that the afternoon light floods into these windows, which quickly became a prime napping local for myself and our two cats.

I still have to hang my inspirations and magnetic boards up and sew the curtains, but that will come in time. Right now I'm doing the most important thing... sewing. I have 6 purses in progress. 5 will be for sale on Etsy and 1 will be given as a free give-a-way! I showed a sneak peak of the fabrics here.
And you can see the look of the bags on this post.
My Etsy account is also getting an overhaul. I'm switching everything to www.makeitsing.etsy.com which will hopefully be more convenient and once everything is up I'll be having a sale. So keep posted.
I love my new work desk and the sewing table is absolutely perfect. I've been photographing birds all winter and spring and have some great reference photos accumulated for some new watercolors. The now blooming flowers are always inspirations, as well! So I can't wait to paint at my new desk, but one thing at a time.
 
 I have great storage and we painted the doors with chalk board paint which has already been great fun for my husband and I, currently they are covered with little ridiculous drawings and inside jokes. Hope you enjoy this peak into my new world!

Monday, April 12, 2010

Where have I been!

I never expected to be gone so long and truly have no excuse. We found out we were pregnant with our first child in January. The shock and excitement of this was indescribable. I then was forced to do something I have never done before: Keep a Secret! The easiest thing to do it was to lay low. I also was battling  a huge drop in energy as well as lack of a studio. So not much got done artistically other than the fun little announcement shown above. So, I am now 14 weeks. We are due October 6th. Also the studio was completed yesterday. I love it so much. I hope to have it all set up and ready to go ASAP. I can't wait to begin sewing and painting again. 
Thanks for your patience with me on my hiatus.
I get to hear the baby's heart beat on Thursday and next month we get to find out the sex!
Here is our little Bun at 11 weeks you can really see her/his little leg!


Related Posts with Thumbnails